The Ultimate Guide to Harvesting and Storing Pecans: From Orchard to Table
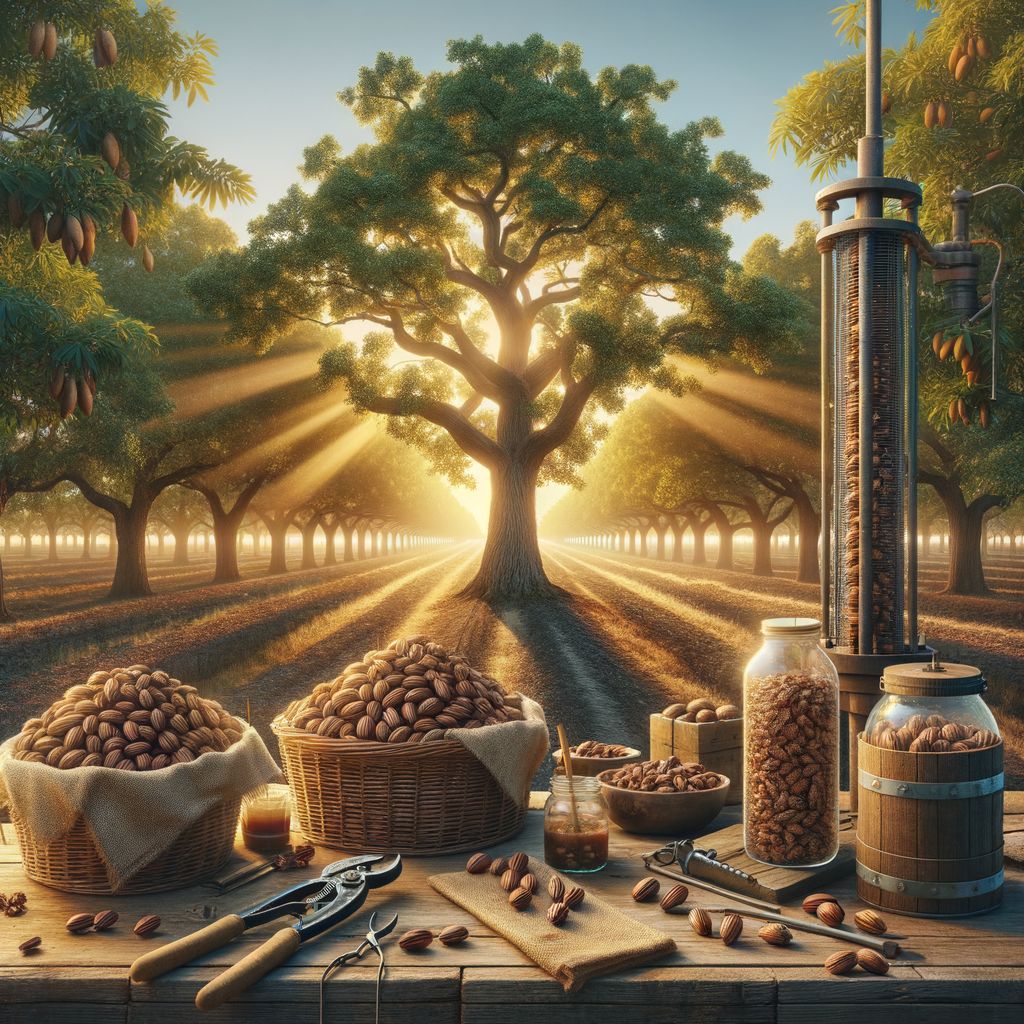
Pecans are more than just a delicious snack or the star ingredient in a classic pie—they’re a symbol of Southern heritage and a staple in American kitchens. At Nuts About Pecans, we know that cultivating, harvesting, and storing pecans is both an art and a science. Whether you’re a backyard grower or managing an orchard, understanding the nuances of pecan harvest and storage can make all the difference in flavor, quality, and shelf life. This comprehensive guide will walk you through every step, ensuring your pecan harvest is bountiful, delicious, and long-lasting.
Choosing the Right Time to Harvest Pecans
Timing is everything when it comes to harvesting pecans. Picking too early can result in underdeveloped nuts with poor flavor, while waiting too long risks losing your crop to wildlife or adverse weather. Understanding the signs of maturity is crucial for both novice growers and seasoned orchardists.
Signs That Pecans Are Ready for Harvest
- Shuck Splitting: The most reliable indicator is when the green shuck (the outer husk) splits open naturally, revealing the brown shell inside. This typically occurs from late September through November, depending on variety and climate.
- Nut Drop: Mature pecans will begin to fall from the tree on their own. If you notice nuts accumulating on the ground daily, it's time to act.
- Color Change: The shell inside should be a uniform brown color; immature nuts often have white or light-colored shells.
- Kernel Texture: When cracked open, mature kernels should be plump and fill out the shell cavity without being shriveled.
Regional Considerations
Pecan harvest dates vary widely across the United States.
Environmental factors such as rainfall, temperature fluctuations, and disease pressure can shift these windows by several weeks each year.
Essential Tools and Equipment for Harvesting
Harvesting pecans efficiently requires more than just a keen eye—it demands the right tools. The size of your operation will dictate your equipment needs.
Basic Tools for Home Growers
- Long-handled fruit picker: Ideal for reaching nuts still clinging to low branches.
- Tarp or sheet: Spread beneath trees to catch falling nuts.
- Sturdy gloves: Protect hands from sharp shells and debris.
- Buckets or mesh bags: For collecting harvested nuts.
Advanced Equipment for Larger Orchards
For commercial growers or those with multiple trees:
- Mechanical shakers: Attach to tree trunks or limbs to shake loose stubborn nuts.
- Nut rollers or sweepers: Devices like the Bag-A-Nut Pecan Picker Upper can dramatically speed up ground collection.
- Harvest wagons/carts: For transporting large volumes quickly.
Investment Overview
The following table highlights typical costs for essential harvesting tools:
| Tool/Equipment | Price Range (USD) | Best For |
|---|---|---|
| Fruit Picker | $20 – $50 | Small orchards/backyards |
| Tarp | $10 – $30 | All growers |
| Mechanical Shaker | $2,000 – $10,000+ | Commercial operations |
| Nut Roller/Sweeper | $200 – $700 | Medium–large orchards |
Investing in quality equipment can save hours of labor during peak harvest season and help preserve nut quality by minimizing bruising.
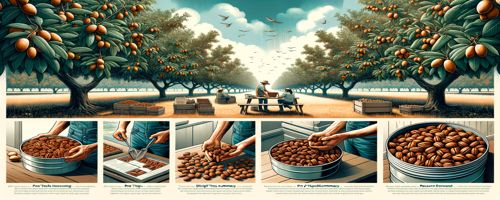
Step-by-Step Guide to Harvesting Pecans
A successful pecan harvest follows a sequence of well-timed actions designed to maximize yield while minimizing waste.
1. Monitor Tree Maturity Closely
Begin checking your trees daily as you approach the expected harvest window. Use binoculars if necessary to inspect shucks high in the canopy for splitting.
2. Prepare Your Harvest Area
Clear fallen branches and debris beneath trees so you can easily spot dropped nuts. Lay tarps under heavily laden branches if possible—this simplifies gathering and keeps nuts clean.
3. Collect Fallen Nuts Promptly
Pecans left on wet ground are prone to mold and pest infestation. Gather fallen nuts at least once per day during peak drop using buckets or mesh bags.
4. Shake Remaining Nuts Loose
For stubborn nuts that don’t drop naturally:
- Use a long pole or mechanical shaker (for larger trees).
- Shake gently; excessive force can damage branches.
- Collect shaken nuts promptly before wildlife gets them.
5. Sort as You Go
Separate visibly damaged or rotten pecans from healthy ones during collection. Early sorting reduces spoilage risk during storage.
Quick Checklist for Efficient Harvest
- Wear gloves for protection
- Check shucks daily
- Collect promptly after rain
- Separate debris from good nuts
- Avoid stepping on fallen pecans
By following these steps diligently throughout harvest season, you’ll ensure maximum yield with minimal waste.
Cleaning and Preparing Pecans After Harvest
Once harvested, pecans require immediate cleaning to prevent mold growth and ensure optimal taste. This step is often overlooked but is vital for maintaining nut quality through storage and processing.
Initial Cleaning Steps
- Remove Debris: Pick out leaves, twigs, hulls, and other foreign material by hand.
- Rinse Thoroughly: Place pecans in mesh baskets or colanders; rinse under running water to remove dirt and surface contaminants.
- Float Test: Fill a bucket with water; pour in cleaned pecans:
- Good-quality nuts sink.
- Floaters are usually immature or insect-damaged—discard these.
Dry Surface Moisture Quickly
After rinsing:
- Spread cleaned pecans in a single layer on clean towels or screens.
- Pat dry with towels if needed.
- Allow air circulation around all sides; avoid stacking while wet.
Proper cleaning not only preserves flavor but also extends shelf life by reducing initial microbial load—a key factor highlighted by food safety experts at Texas A&M AgriLife Extension Service.
Best Practices for Drying and Curing Pecans
Drying (also called curing) is essential for stabilizing moisture content within harvested pecans—this process prevents spoilage during storage while enhancing flavor development.
Why Drying Matters
Freshly harvested pecans contain up to 30% moisture; ideal storage moisture is 4–6%. Excess moisture leads to mold growth and rancidity—two common culprits behind off-flavors in stored nuts.
How To Dry Pecans Properly
- Spread Out Thinly: Arrange cleaned pecans in shallow layers (no more than two deep) on screens or trays in a well-ventilated area away from direct sunlight.
- Maintain Airflow: Use fans if needed; avoid humid environments like basements or closed garages.
- Monitor Progress Daily: Stir occasionally so all sides dry evenly; check kernels by cracking test samples every few days.
- Test For Doneness:
- Crack open several test nuts after 7–14 days of drying.
- Kernels should snap cleanly rather than bend; shells should feel hard rather than rubbery.
Key Factors Influencing Drying Time
- Ambient humidity: Higher humidity = longer drying times
- Air temperature: Warmer temps speed up drying but avoid direct heat above 100°F
- Nut size/thickness: Larger varieties may take longer than smaller ones
Drying too quickly at high temperatures can cause kernels to become brittle or develop off-flavors—a mistake often made by impatient first-time growers!
Proper Storage Methods to Maintain Freshness
Once dried thoroughly, proper storage methods are crucial for keeping your pecan crop fresh until use—sometimes for months at a time!
Ideal Storage Conditions
Pecans are best stored under cool, dry conditions:
- Temperature: Below 40°F is ideal; refrigeration extends shelf life dramatically
- Humidity: Keep relative humidity below 65%
- Light: Store away from direct sunlight which accelerates rancidity
- Oxygen: Airtight containers slow oxidation processes that cause staleness
Storage Options Compared
| Storage Method | Expected Shelf Life | Notes |
|---|---|---|
| Room Temperature | Up to 3 months | Use airtight containers |
| Refrigerator | Up to 9 months | Best for shelled/naked kernels |
| Freezer | Up to 2 years | Vacuum-sealed bags preferred |
For best results:
- Store unshelled pecans—they retain freshness longer than shelled kernels due to natural protection from their shells.
- If using glass jars or plastic containers, ensure they are completely dry before filling with nuts—moisture trapped inside encourages mold growth even at low temperatures.
Major brands like Fisher Nuts recommend freezing large batches of shelled kernels if you don’t plan on using them within three months—a practice also endorsed by food scientists at University of Georgia Cooperative Extension Service.
Common Mistakes to Avoid During Harvest and Storage
Even experienced growers can fall prey to common errors that compromise their hard-earned harvests:
- Delaying Collection After Drop
- Leaving fallen nuts on wet ground encourages rapid mold growth—especially after heavy rains.
- Skipping Cleaning Steps
- Unwashed nuts carry dirt into storage containers which harbors bacteria/fungi leading to spoilage.
- Insufficient Drying
- Storing high-moisture pecans results in musty flavors—and potentially toxic molds like Aspergillus flavus (aflatoxin producer).
- Improper Container Choice
- Using paper bags instead of airtight jars/containers allows pests like pantry moths access—and exposes kernels to air/humidity fluctuations.
- Storing Near Strong Odors
- Pecans absorb odors easily—never store near onions/garlic/chemicals as off-flavors will develop quickly!
- Neglecting Regular Checks
- Even well-stored batches should be checked monthly for signs of spoilage; discard any musty-smelling or discolored kernels immediately.
Learning from these pitfalls will help ensure your next batch remains fresh—and safe—for every recipe you dream up!
Expert Tips for Maximizing Pecan Quality
Industry professionals—from master orchardists at Stahmanns Pecans in New Mexico to culinary experts at Southern Living magazine—offer valuable insights into producing top-tier pecan crops year after year:
1. Prioritize Variety Selection
Choose cultivars suited for your climate zone—disease-resistant types like Pawnee or Kanza thrive even under challenging conditions with less chemical input required over time.
2. Monitor Trees Year-Round
Healthy trees produce higher-quality nuts! Regularly inspect leaves/branches for signs of pests/disease; maintain soil fertility with annual applications of balanced fertilizer based on soil tests from reputable labs such as Texas Plant & Soil Lab ($20–$50 per sample).
3. Optimize Irrigation
Drought stress during kernel fill leads directly to shriveled kernels—a major downgrade in market value according to USDA grading standards! Install drip irrigation systems ($500–$2,000 per acre) where feasible for consistent yields regardless of rainfall variability.
4. Time Your Harvest Precisely
Use degree-day calculators available through local extension services—timed harvest ensures maximum oil content/flavor development according to research published by Oklahoma State University’s Pecan Management Program.
5. Invest In Quality Processing Equipment
If cracking/shelling large quantities post-harvest consider semi-auto crackers like the Kinetic Kracker ($300–$600)—these minimize kernel breakage compared with manual methods resulting in higher-grade product ready for retail sale/baking projects alike!
Pro Tips Summary
- Select adapted varieties
- Keep trees healthy all year
- Water consistently during kernel fill stage
- Use science-backed timing tools
- Upgrade equipment as your operation grows
With careful attention at every stage—from orchard monitoring through final storage—you’ll enjoy premium-quality pecans whether baking pies for Thanksgiving dinner or supplying local farmers’ markets with gourmet snacks!
At Nuts About Pecans we believe that every grower—from hobbyist gardeners nurturing their first sapling to multi-acre orchard managers—deserves access to practical advice rooted in real-world experience backed by current research findings from industry leaders nationwide! With these guidelines you’ll be well-equipped not only for this season’s harvest but many bountiful years ahead!